
This is a guide on setting up Deluge on a Synology using a Docker image. The deluge will be running on a web based user interface, the DSM version this guide is based on DSM 6.1.7. The instruction should be roughly the same with other versions
The download station provided by synology is suffice however some private torrent may not recognize download station as their approve client. Deluge is a popular torrent client that is widely accepted by private torrent.
Prerequisites
- SSH access to the Synology
- Docker package installed on Synology
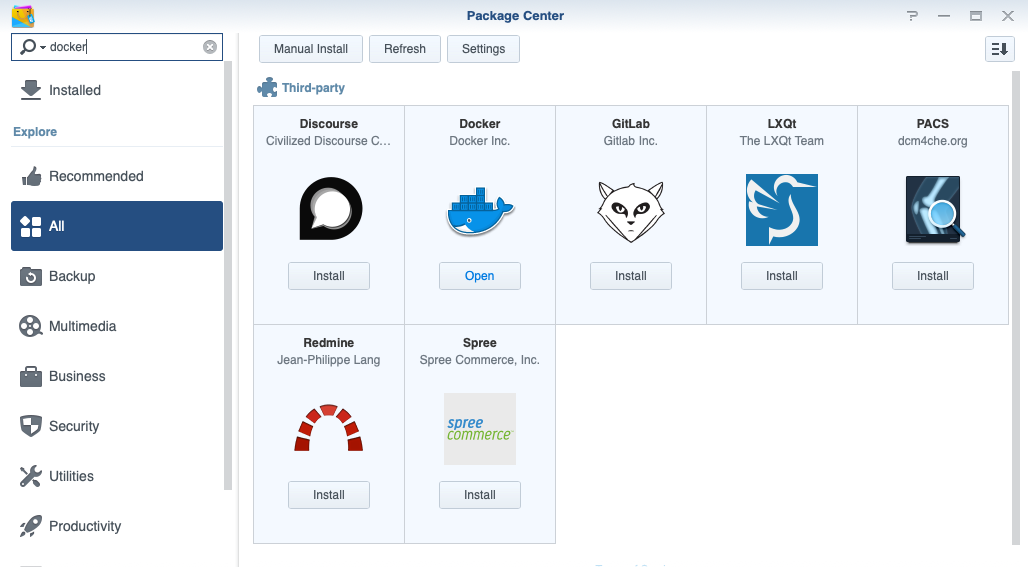
1. Click on "Package Center"
2. Search for Docker and install
- Text Editor package installed on Synology
1. Click on "Package Center"
2. Search for Text Editor and install
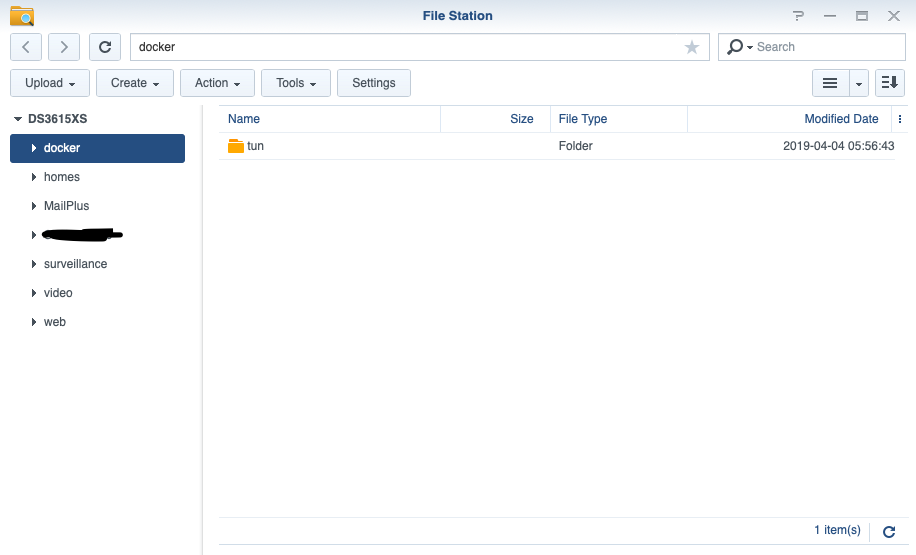
- Create a docker folder in the root of the synology
1. Open File Station
2. Create a folder name "docker" on the root of the synology
Installation steps
Step 1 - Determine your PUID and PGID values
SSH into your synology using either putty or terminal. Once logged in type the command
id

Your PUID is the UID value Your PGID is the GID value
Step 2 - Create a TUN/TAP Adapter on the Synology
Even though we do not need the OpenVPN we will still be required to install the TUN/TAP adapter for deluge to function properly.
- Login to the Synology DSM with Administrator privilege
- Open file station and click into dockers
- Create a folder call “tun”
- Open Text Editor > File > new
- Insert the following text.
#!/bin/sh

# Create the necessary file structure for /dev/net/tun
if ( [ ! -c /dev/net/tun ] ); then
  if ( [ ! -d /dev/net ] ); then
    mkdir -m 755 /dev/net
  fi
  mknod /dev/net/tun c 10 200
fi

# Load the tun module if not already loaded
if ( !(lsmod | grep -q "^tun\s") ); then
  insmod /lib/modules/tun.ko
fi

# Load iptables mangle is not already loaded
if ( !(lsmod |grep -q "^iptable_mangle\s") ); then
  insmod /lib/modules/iptable_mangle.ko
fi
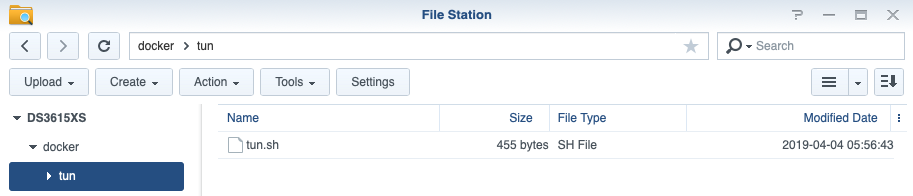
- File > Save As
- Head to /docker/tun and save the file as tun.sh
So the script is now created, we need to make a scheduled task to run the script at startup.
- Open control Panel
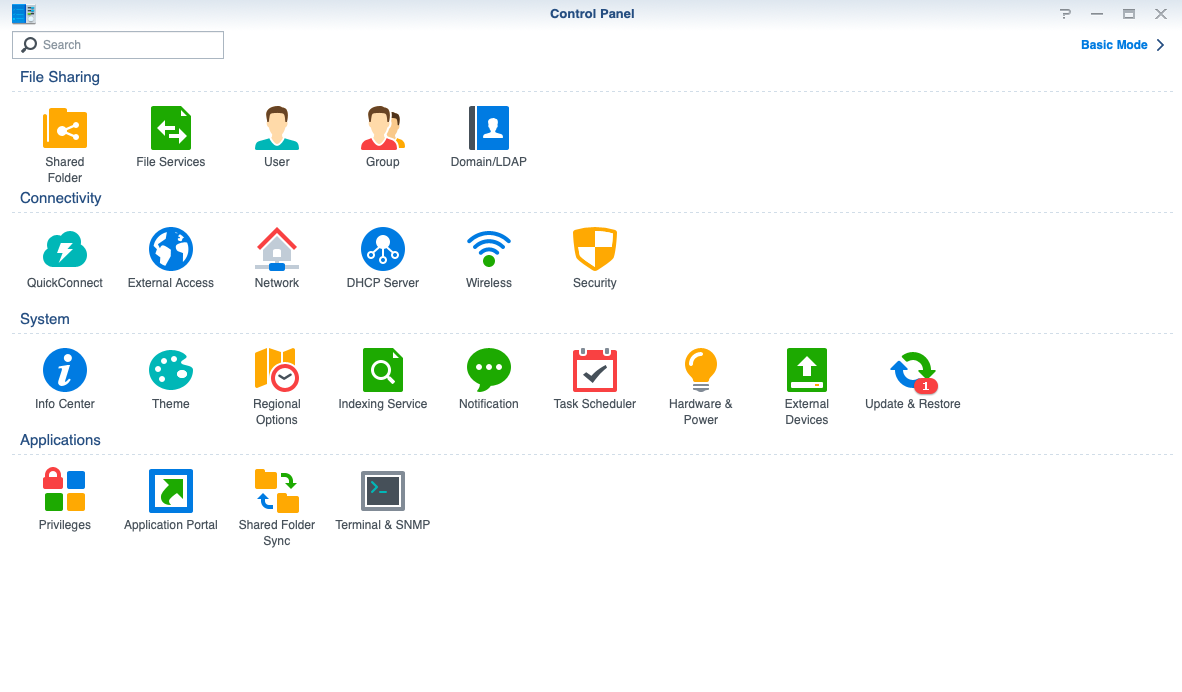
-
Select Task Scheduler
-
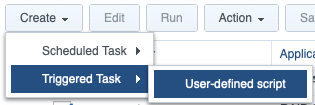
Create > Triggered Task > User Defined Script
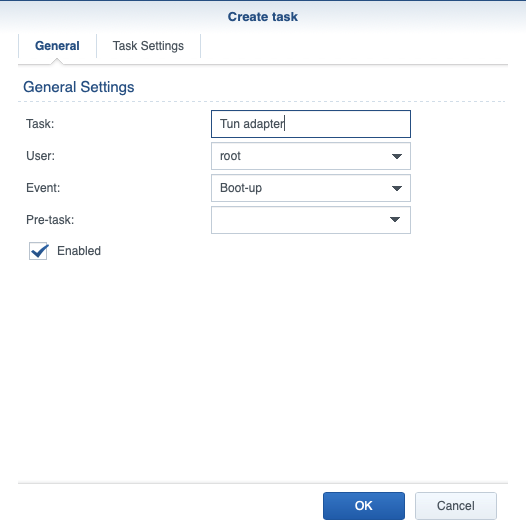
- ** Task: Name is whatever you like ** User: root ** Event: Boot-up Enabled: Checked
Click Task Setting ** Under User-defined script: /volume1/docker/tun/tun.sh
Reboot your synology after this step
Step 3 - Downloading the Deluge Docker image
- Open up Docker and go to Registry
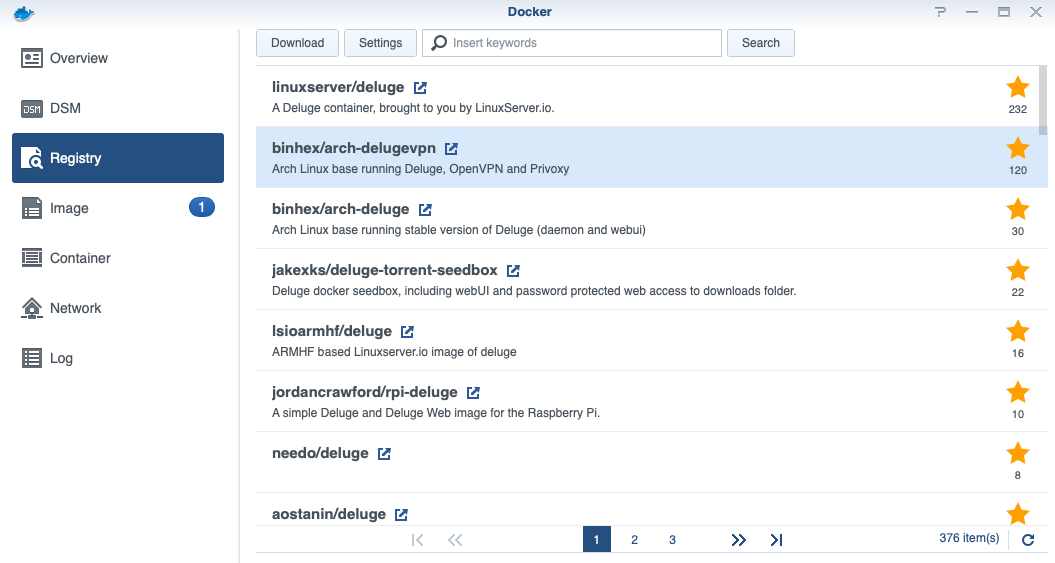
- Search for “Deluge” and click on binhex/arch-delugevpn container. Click Download and choose the latest version
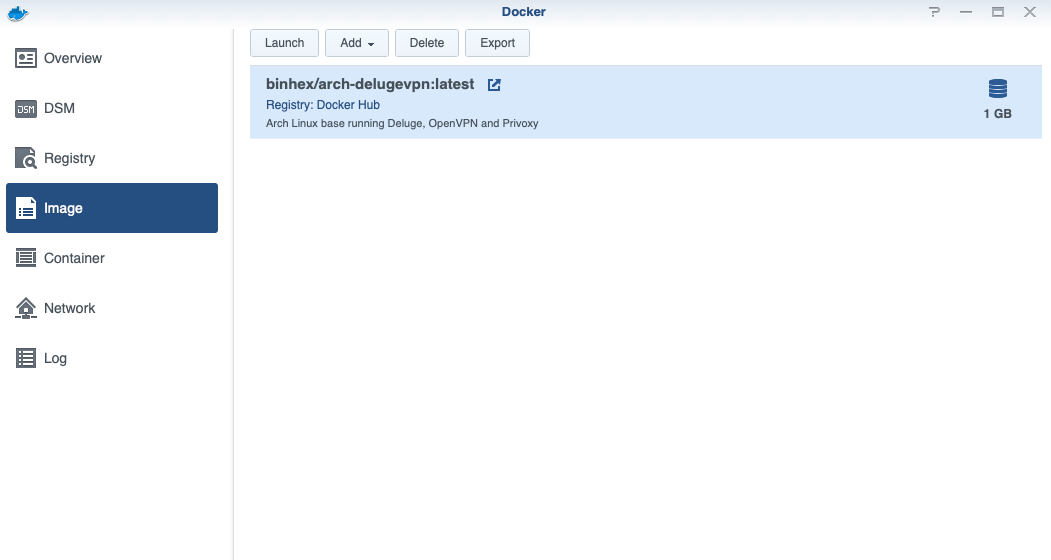
Step 4 - Create a container from the downloaded image.
Click Image, and select binhex/arch-delugevpn:latest and click “launch”. This will launch the Create Container wizard.
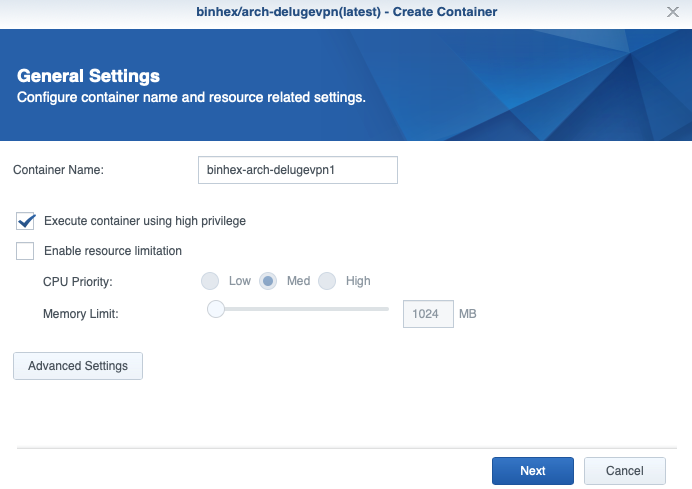
Step 5 - Configure the General container settings
You can keep the default entry of the name or change the containername. I use the default one and did not change the container name.
- Check “Execute container using high privilege”
Step 6 - Configure the Advanged Settings for container
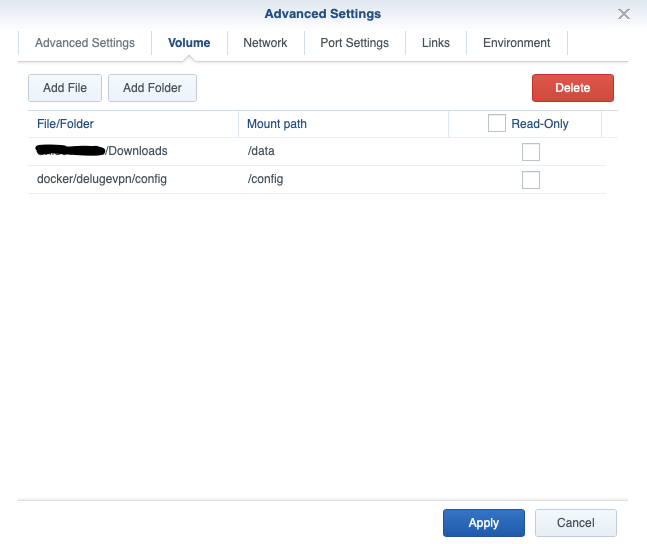
Under “Volume” Tab
- Head to File station first
- Create a folder call “delugevpn” under docker folder and a subfolder call “config” under deluge folder.
Once the folder are created, we need to map the config folder to the container by clicking “Add folder”. Head over to the config folder we create under “deluge” and the mount path type “/config” (without the quotes)
Now we need to specify the download location for deluge. If you have already a folder, you can add it and mount path as “/data” (without the quotes)
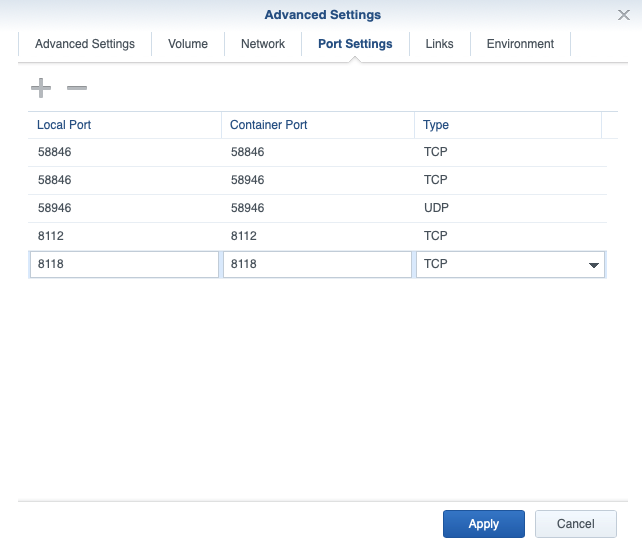
Step 7 - Configure the port settings container
Under “Port Settings” Tab
Change “local port” from “auto” to the value of the container port. Like the image below
Step 8 - Configure the Environment container settings
Under “Environment” Tab
A number of environment variables need to be added. You can find your TZ from here
TZ - This is your timezone format. In the form of America/New_york
PUID - This is the value from step 1
PGID - This is the value from step 1
VPN_ENABLED - Set to “No”
LAN_Network - Set to your local network format. Example 192.168.0.0/24 or 192.168.1.0/24
NAME_SERVER - Set to your DNS Server. Example 192.168.1.1 or 192.168.0.1
STRICT_PORT_FORWARD - Set to “yes”
UMASK - Set to “000”
DEBUG - Set to “false”
Step 9 - Finalize the creation of container
Clicking “Apply” will bring you back to the general setting and finally click “next” to go to the final review. Review the settings to make sure you didn’t miss anything.
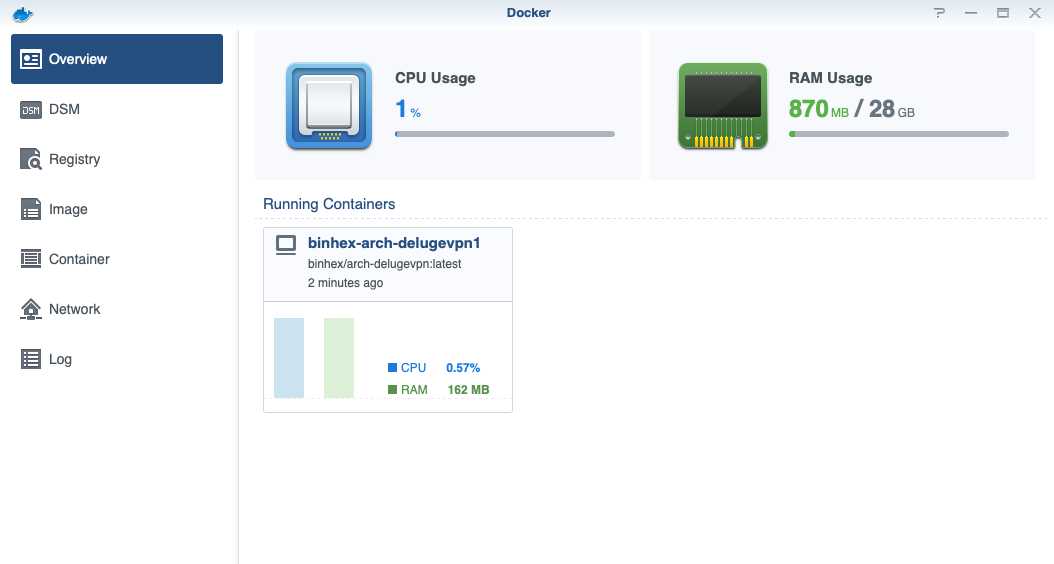
Step 10 - Starting the container
Start the container in your docker
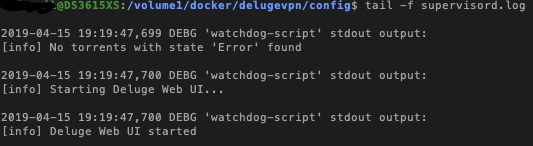
Next look at the file /docker/delugevpn/config/supervisord.log to check if everything is working fine.
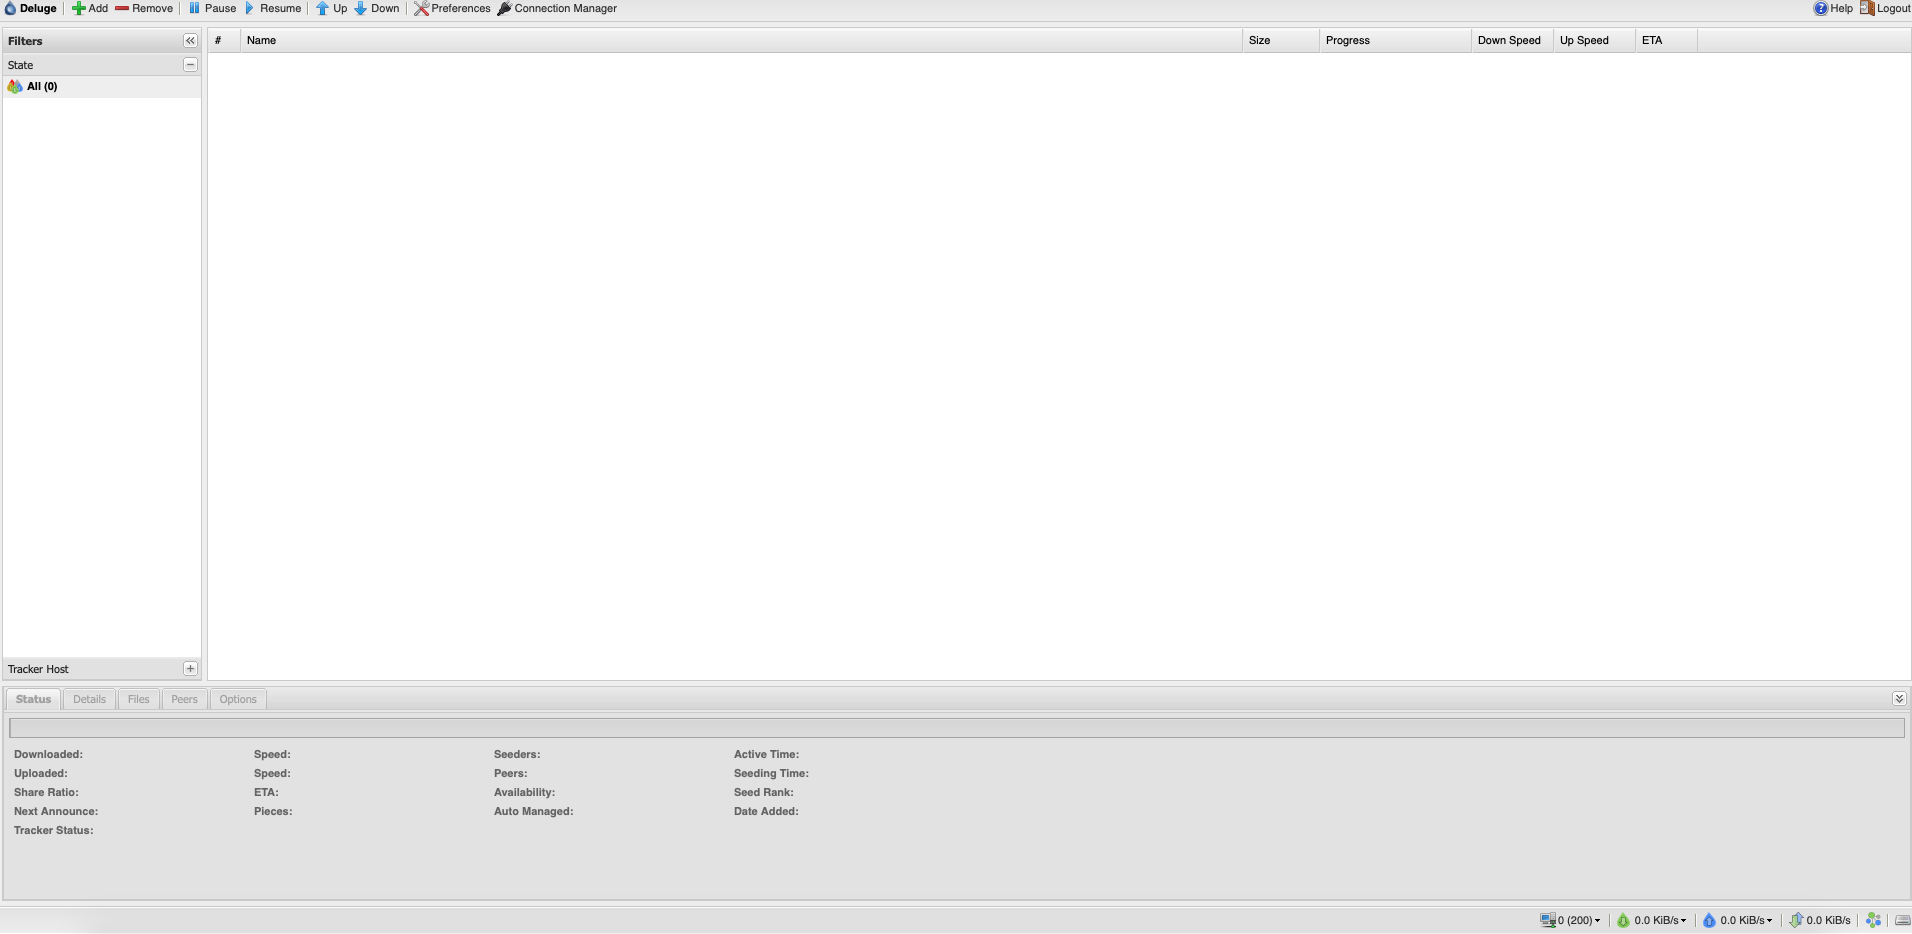
Now you can access the deluge web client from your browser.
http://<your_synology_ip>:8112
I tried downloading a ubuntu iso using deluge and the speed i am getting is great so far at 40MB/s.

Reference
As the guide on tomthegreat has OVPN. I have decided not to follow the whole guide totally as i do not need the openVPN. There may not need to install the tun.sh adapter, i have not tried it yet. I just did it incase the container does not want to run.
http://tomthegreat.com/2018/03/11/setting-up-deluge-with-vpn-on-synology-using-docker/ https://hub.docker.com/r/binhex/arch-delugevpn/